What is the process for handling gear failures?
- Share
- Issue Time
- Jul 28,2026
Start with the failure symptom, then trace the root cause
When a gear fails, the next step is a controlled failure review—not an automatic material change. Record the symptom, operating duty cycle and assembly condition; inspect the tooth surface, root, dimensions and heat-treatment evidence; then link the finding to a corrective action and verification plan.
PairGears' gear-failure analysis guide connects common symptoms with material, heat treatment, loading, lubrication and geometry checks.
Contain the issue
Identify the affected lot, stop uncontrolled use where necessary, preserve failed parts and record the machine, load, speed and service hours.
Separate symptom from cause
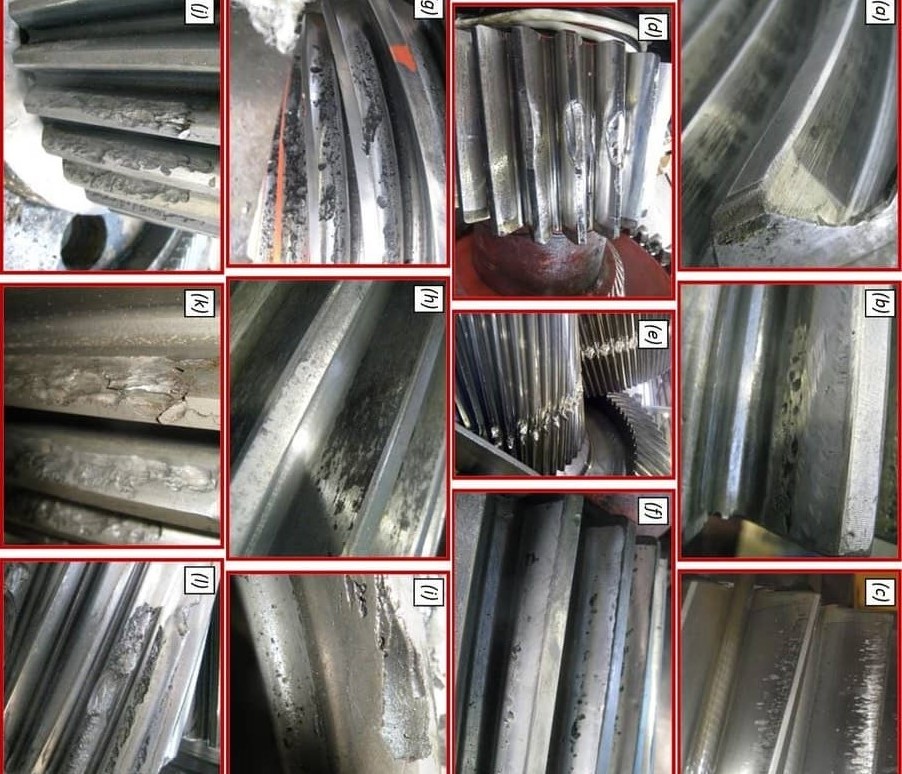
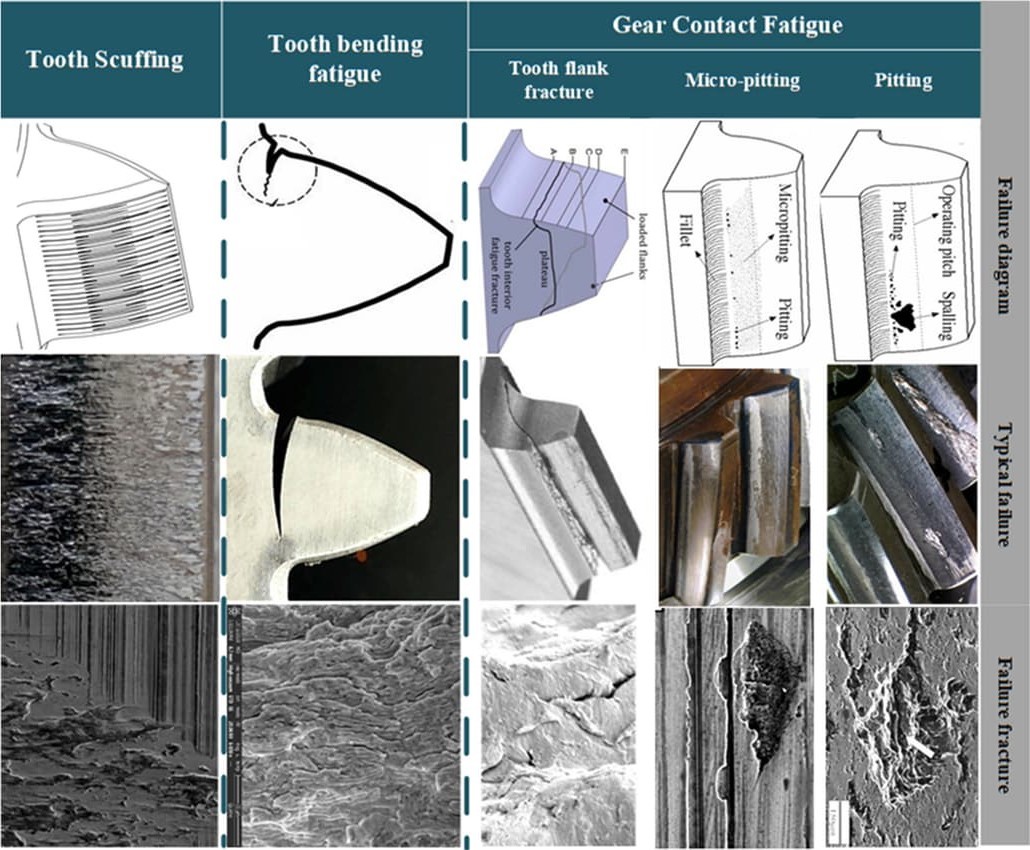
Pitting, spalling, tooth breakage, scuffing, rising noise and distortion point to different checks. Inspect the contact pattern, root, hardness, case depth and lubrication condition.
Verify the correction
Agree the material or heat-treatment change, geometry or assembly adjustment, inspection evidence and a repeat-run or service validation before closing the claim.
Information to send with a failure report
- Photos showing the damaged tooth, root or surface
- Part number, drawing revision and matched-part information
- Torque, speed, shock load, duty cycle and lubrication
- Failure timing, quantity affected and lot traceability
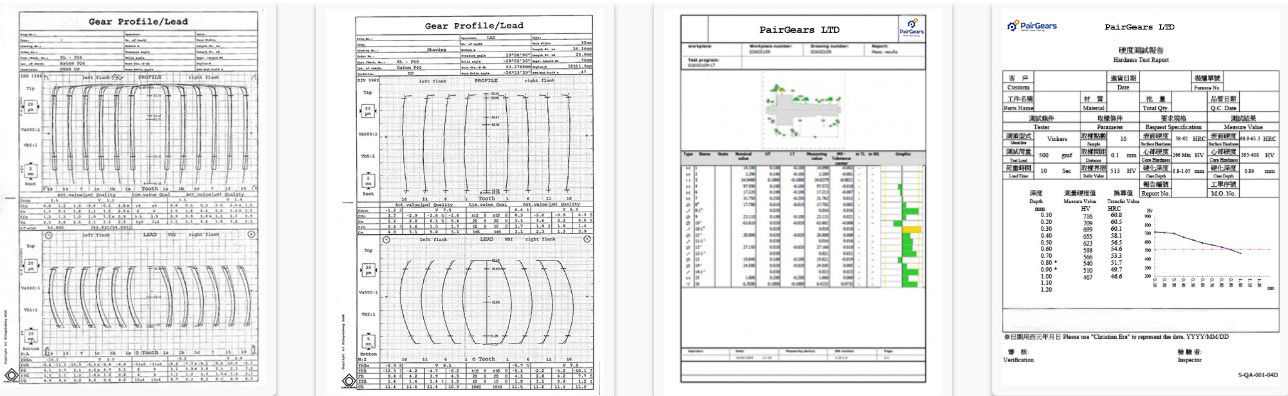
- Hardness, case-depth, dimensional or contact-pattern records
A measured report makes it easier to distinguish a supplier process issue from an installation, overload or application change.
Turn the finding into a corrective-action loop
Align containment, root-cause evidence, corrective action, responsible owner and verification timing. Keep the revised process and inspection records linked to the affected lot and future repeat orders.
Review PairGears inspection and testing servicesRead about gear accuracy control from blank to final inspectionSubmit a gear-failure review request